


Auto Mode / Photo
Your camera’s default setting (Auto Mode or just Photo on iOS) makes all of your photography decisions for you. Some of the newer phone cameras also have Intelligent Auto Mode, which cleverly analyses your setting and automatically puts you on the best mode. It knows whether you need a flash or not, and sorts out your lighting as well.
When to use it:
Need a close-up of a document or object? Auto Mode will capture all of the detail you need. The shot might not look as aesthetically pleasing as it would if you used a different mode but it’ll give you an in-depth, clear look at what you’re photographing.
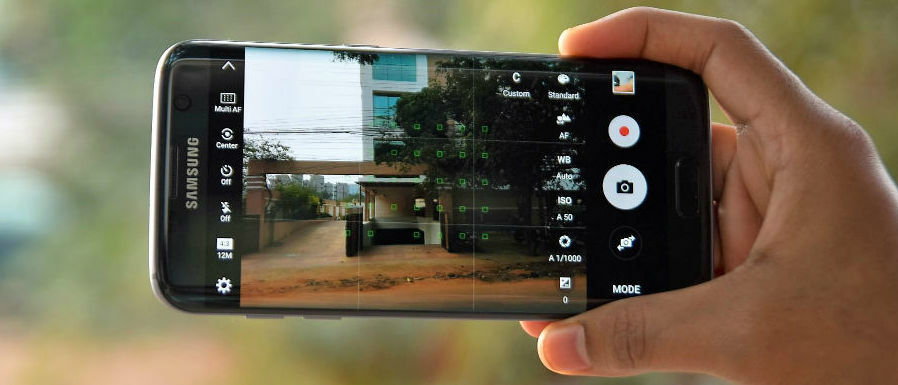
Pro Mode / Burst Mode
If you’re an expert that knows your aperture from your ISO, Pro Mode is perfect for you. Available on most new Samsung phones, Pro Mode lets you adjust the settings that work for you. Take charge of your photos by upping your ISO setting if you’re in a dark setting – or whack a filter on before you take the photo.
When to use it:
Pro Mode does the job when you’re taking photos in a dark setting. Also, Burst Mode is ideal for action shots. So, if you’re taking snaps on the dance floor, you can go back and choose the best ones for your social media.
Portrait Mode
Portrait Mode or ‘the bokeh effect’ adds a professional-looking blurred background to all of your photos. It enhances your colour settings and depth of field, putting whatever your shooting centre stage. The new iPhone Xs even has a depth of field controller, so you can choose how blurry you want your background to be.
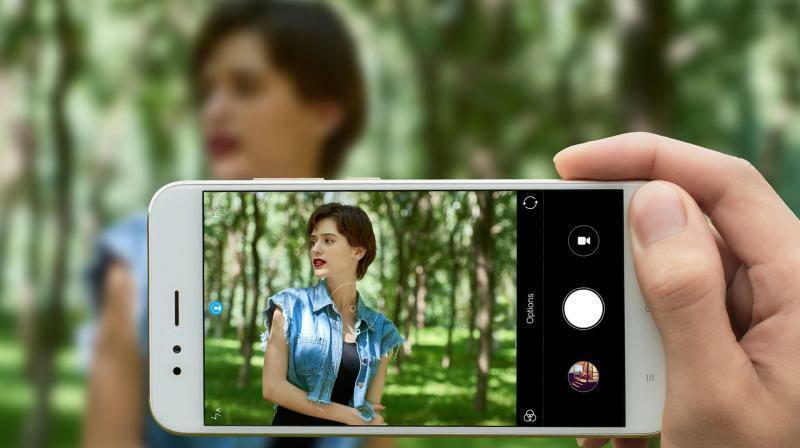
When to use it:
Don’t let the name fool you. Sure, Portrait Mode is great for taking pictures when people or pets are your main focus but it also works brilliantly for objects too. Just imagine how good your ice cream shot would look with a blurred beach in the background.
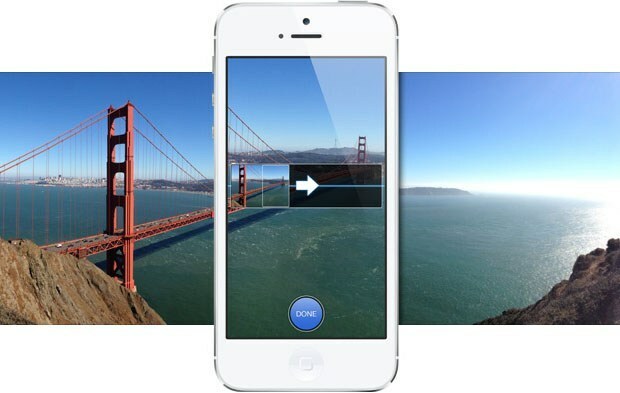
Panorama Mode
It’s tricky trying to figure out which part of an amazing view to snap. With Panoramic mode you can capture images with horizontally elongated fields of view. It’s easy - just sweep across the view while holding down the capture button, and you’ll see the bigger picture – literally.
When to use it:
Panorama Mode was created for picturesque views but it’s equally as effective if you want to take a shot of the whole room. Make sure to go slow though. Rotate too quickly and you could end up with a few distorted faces in your picture (and that’s never a good look).
Monochrome Mode
There’s a time and a place for artsy black and white images. But when you are in the mood for something with a more retro feel, Monochrome works wonders. You can take a black and white photo directly with the sensor, or if you want the option, you can stick a Monochrome filter on afterwards.
When to use it:
You’ll get the most out of Monochrome when you use it to take close-up photos of people. It’s also a great touch if you’re creating nostalgic personalised birthday cards or mugs.
Which mode is your favourite? Have we left any off the list? Tell us what you think below the line.

