

Welcome to your new iPhone. Whether you’re an Apple novice, or simply upgrading your device, setting up an iPhone is always exciting. Here’s our simple step-by-step guide to getting started with your new iPhone.
How to insert a SIM Card into an iPhone
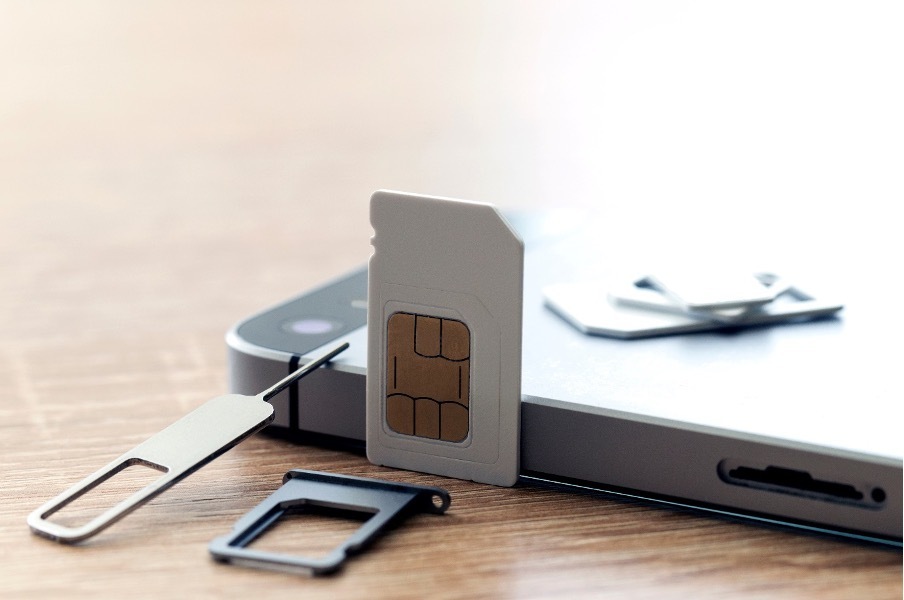
Firstly, you’ll need to locate the SIM card slot. This is about halfway down the right side of your iPhone. Apple provide SIM pins (a tool used to release the SIM tray) with all new phones. But if you don’t have one, a paperclip will do the trick. Then simply:
- Push the SIM pin into the small hole of the SIM tray to make it pop out
- Remove your Nano SIM from the iD SIM packaging and place it in the tray (with the gold contact facing downward)
- Place the SIM tray back into your new iPhone
- Turn your iPhone on
- ‘iD’ or ‘iD Mobile’ should now appear in the top-left corner of your screen
Getting Started
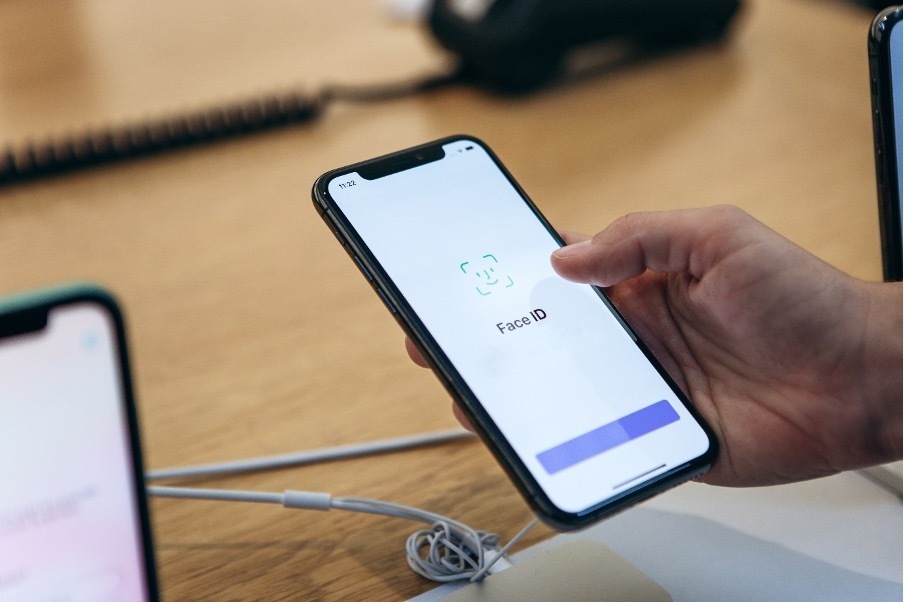
After turning on your new iPhone, you’ll be greeted by the Apple logo and the word ‘Hello’ in various languages. Follow the on-screen instructions to choose your language, select your region and connect to a Wi-Fi network. You’ll also be able to set up Face ID or Touch ID and create your own passcode.
Next, you can restore or transfer data from another device. If you want to move stuff over from your Android device, you’ll have to do this now as it can’t be done at a later time (see below for more info). From there, you’ll be able to sign in with your Apple ID, set up Siri, Apple Pay and Screen Time. If you skip any of these steps when setting up your iPhone, never fear. You can set them up later in the Settings app following our guidelines below…
How to move data from Android to iPhone

Making the move from Android to iOS? You’ll need your old Android phone to do this. Firstly, make sure your Android is plugged in and that Wi-Fi is turned on. Then, you’ll have to download the Move to iOS app on your old Android phone.
- During your iPhone’s initial set-up, an ‘Apps & Data’ screen will appear
- Here, click on ‘Move Data from Android’ then tap ‘Continue’
- Using your old Android, open the Move to iOS app
- Read the T&Cs and tap ‘Agree’
- Enter the one-time passcode shown on your iPhone
- When prompted, connect your Android phone to the temporary Wi-Fi network that will be created by your iPhone
- Soon, a ‘Data Transfer’ screen will pop up
- Select which content you want to transfer to your new iPhone and select ‘Continue’
- Wait patiently until the ‘Loading Bar’ on your iPhone screen completes then tap ‘Continue’ on your iPhone, (and tap ‘Done’ on your Android phone).
How to move data from iPhone to iPhone
Before you begin switching data from your old iPhone, make sure you’ve backed your old iPhone up to the iCloud so that you have an up-to-date version avaliable on your new iPhone. You will also need your Apple ID and password ready before continuing:
- During your iPhone’s initial set-up, an ‘Apps & Data’ screen will appear
- Here, click on ‘Restore from iCloud Backup’ then enter your Apple ID and password
- Read through the T&Cs and tap ‘Agree’
- Select your desired ‘Backup’ file
- Tap ‘Continue’ twice
- Tap ‘Share’ or ‘Don’t Share’ app analytics depending on your preferences
- Your iPhone restore will then begin, and your device will automatically restart when complete.
How to sign into Apple iD
Without an Apple ID account, you won’t be able to access Apple services like the App Store, iCloud, iMessage, Apple Music and more. Follow the below steps to sign into your Apple ID account:
- Open the Settings app
- Click on ‘Sign in to your iPhone’ at the top
- Enter your Apple iD and password
- Tap ‘Next’ and you’re done.
How to confirm network settings on an iPhone
Internet is a necessary part of many iPhone features and functions – from sending emails and iMessages to checking the weather or streaming music. Here’s how to make sure your mobile data is switched on:
- Open the Settings app
- Tap on ‘Mobile Data’
- Make sure ‘Mobile Data’ is toggled on
- Confirm that all settings match up, and then you’re done.
How to set up Siri on an iPhone
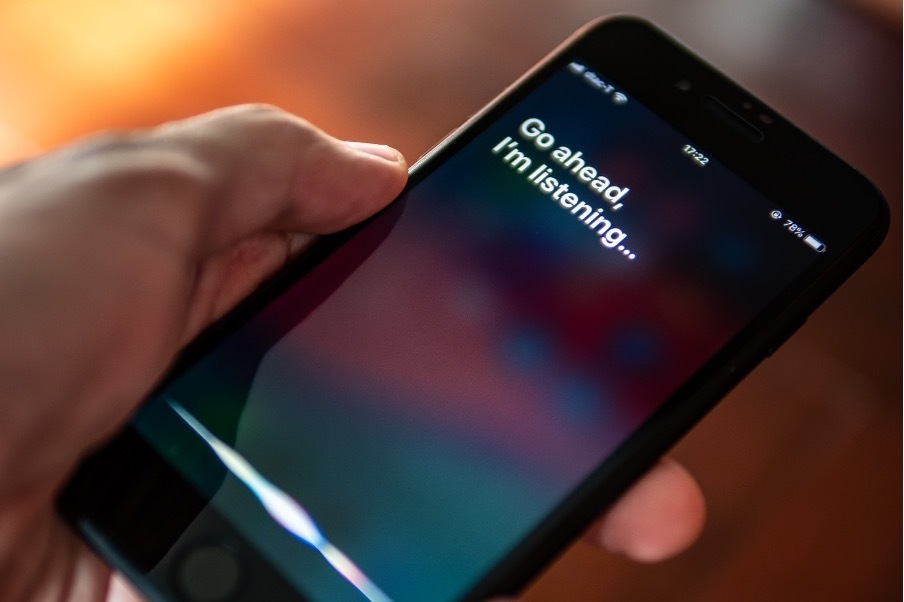
Siri – Apple’s voice assistant – can do so many useful things. Make calls or send texts, set alarms, get directions, or request a song – all without having to pick up your phone. Here’s how to set Siri up:
- Open the Settings app
- Click on ‘Siri & Search’, then either:
- Tap ‘Listen for Hey Siri’ to use Siri with your voice, OR ‘Press Side Button for Siri’ if you’d rather make Siri button-activated
- Finally, select ‘Enable Siri’.
How to set up voicemail on an iPhone
Because they can do some amazing stuff, sometimes it’s easy to forget that an iPhone is also a phone. Here’s how to set up voicemail on your new iPhone:
- Download and open the iD Mobile app
- Log in or Register
- Select ‘Services’
- Make sure that ‘Voicemail’ is toggled on
- That’s it – to access your voicemails just call ‘123’.
How to add your bank card to Apple Pay
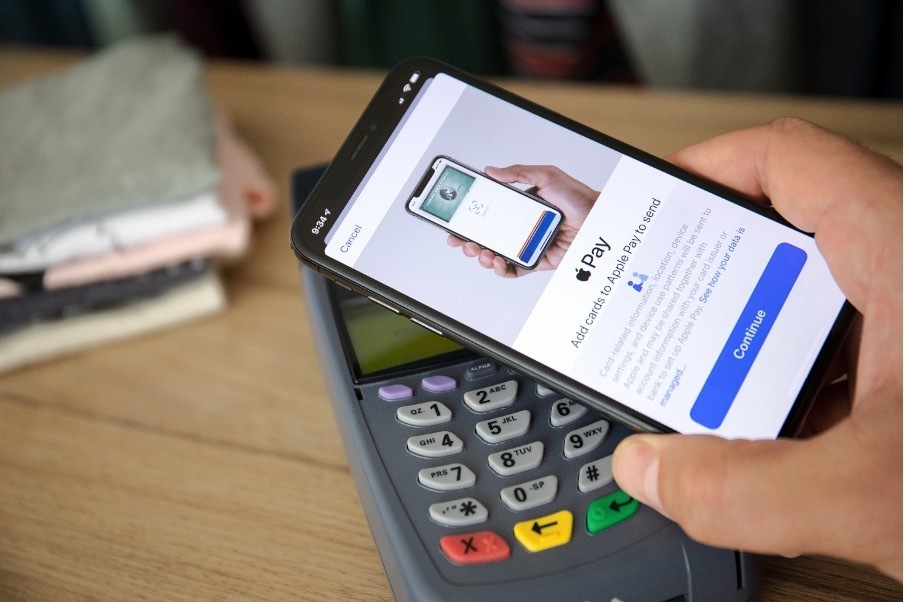
To set up Apple Pay, you’ll need to add a credit or debit card to the Wallet app:
- Open the Wallet app
- Tap on the ‘+’ icon in the top-right corner
- Choose between adding a ‘Debit or Credit Card’ or a ‘Travel Card’
- Tap ‘Continue’
- Scan your card using the camera OR click on ‘Enter Card Details Manually’
- Read through Apple’s T&Cs and click on ‘Agree’
- Verify your bank card via ‘Text Message’ or ‘Call a Bank’
- Enter ‘Verification Code’, click ‘Next’ and then you’re all done.
What do you do if you have any issues setting up your iPhone?
If you experience any issues with your iPhone or your iD Mobile plan, the iD Help Hub is your first port of call. It’s packed full of answers to our customers most frequently asked question.
Some of the most common issues iPhone customers experience getting a “iMessage or FaceTime activation error” after they’ve switched or a receiving a “Not delivered” error message when sending a text. If you’re experiencing one of those issues, click on the hyperlinks to view our troubleshooting guides in the Help Hub.
Alternatively, we’ve got a whole heap of helpful content here on the Community, simply click on the search bar above and type in your question or issue. If you can’t find a related topic or answer, then just ask the Community, and a someone will get back to you with a solution to your problem.