


So, you’ve just bought a new Android phone – how exciting! Before you get going, you’ll need to set it up first. But don’t worry, whether it’s a Samsung Galaxy S22 or a Google Pixel 6, the process couldn’t be simpler. Here’s our easy-to-follow guide for getting started with your new Android phone.
How to insert a SIM into an Android phone
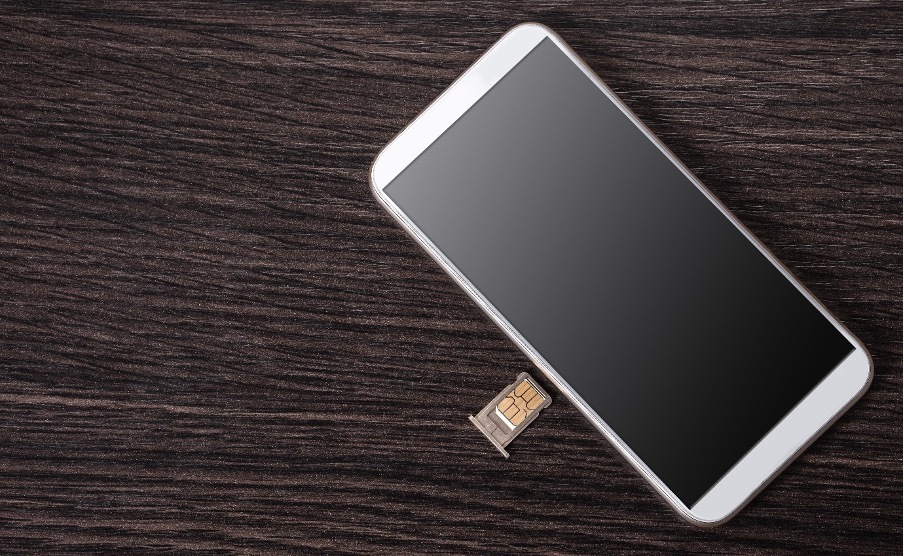
Firstly, you’ll need to locate the SIM card slot. This is usually on the side of Android phones, roughly halfway down. Your new phone will come with a pin (a small SIM ejection tool), but if you misplace it or don’t have one, a paperclip can do the job just fine.
- Insert the pointy end of the pin into the tiny hole of the SIM tray
- Once the SIM tray pops out slightly, gently pull the SIM tray out
- Then, pop your new Nano SIM from the iD SIM packaging
- Place it in the tray – the gold contact should lie flat and face downward
- Insert the SIM tray back into your new Android phone until it clicks into place
- Turn your new phone on – ‘iD Mobile’ will now appear at top of your screen
Getting Started
After powering up your new phone, you’ll have to go through a couple of set-up options. These include selecting a language, connecting to Wi-Fi, and setting up a Google account (if you don’t already have one).
The set-up process will also prompt you to turn on various features like automatic backup, location services, and setting up a time zone. You can also set up your fingerprint sensor and set up a PIN or password.
How to move data from iPhone to Android
Switching over from iPhone to Android? You’ll need to backup your existing phone to iCloud before transferring your data to your new Android phone. Here’s how to do it:
On your old iPhone:
- Open the Settings app
- Tap on ‘Apple iD’ at the top of the Settings list
- Click on ‘iCloud’ then toggle which apps and data you want to back up to the Cloud
- Once you’ve done that, select ‘iCloud Backup’ and tap ‘Back Up Now’ (this may take a few moments).
On your new Android:
- Open the Settings app
- Click on ‘Accounts and backup’ and tap ‘Bring data from old device’
- Then read the T&Cs and select ‘Agree’
- Tap ‘Allow’ to give Smart Switch permission to transfer data
- Click on ‘Receive data’ then ‘iPhone/iPad’, and choose ‘Get data from iCloud’
- Sign in to your iCloud account and tap ‘Next’
On your iPhone:
- Tap ‘Allow’ when prompted and a verification code will appear
On your Android:
- Enter the verification code and tap ‘OK’
- Select/deselect the data you want to move over and click ‘Transfer’
- Once the transfer is complete, tap ‘Next’ twice and then ‘Done’.
How to move data from your old Android to your new Android
Before you begin, you’ll need your old Android to transfer data across:
On both your old and new Android:
- Open the Settings app
- Tap on ‘Accounts and backup’ and choose ‘Bring data from old device’
- Read through the T&Cs and tap ‘Agree’
- ‘Allow’ Smart Switch to transfer your data
On your old Android:
- A pop-up should appear, then tap on ‘Send Data’
- Click ‘Wireless’ (both phones need to be connected to the same Wi-Fi)
On your new Android:
- Soon a pop-up will also appear, click on ‘Receive Data’
On your old Android:
- Choose ‘Allow’ when prompted to connect both phones
On your new Android:
- After your two phones are connected, select/deselect which apps you want to transfer
- Tap ‘Transfer’ at the bottom of your screen
- Once the data has moved across, click ‘Go to Home screen’ and the transfer is done.
How to set up a Google account on an Android phone
To access emails, contacts, and to download apps from the Google Play Store, you’ll need a Google account. To sign in to your Google account on your Android phone, follow the steps below:
- Open the Settings app
- Click on ‘Account & Backup’
- Tap ‘Manage Account’ and select ‘Add Account’, then choose ‘Google’
- Enter your Google account details and password
- Your Google account is all set up.
How to sign into a Samsung account on an Android
Not only does your Samsung account give you access to Samsung Pay, but you can also use it to keep your data synced across devices and use the Find My Mobile service to locate your phone. To sign in, simply:
- Open the Settings app
- Click on ‘Accounts & Backup’
- Tap ‘Manage Accounts’ and select ‘Add Account’, then choose ‘Samsung Account’
- Enter your Samsung account email and tap the ‘Next’ icon
- Now enter your Samsung password and click ‘Next’ again
- Read through the T&Cs and tap ‘Agree’.
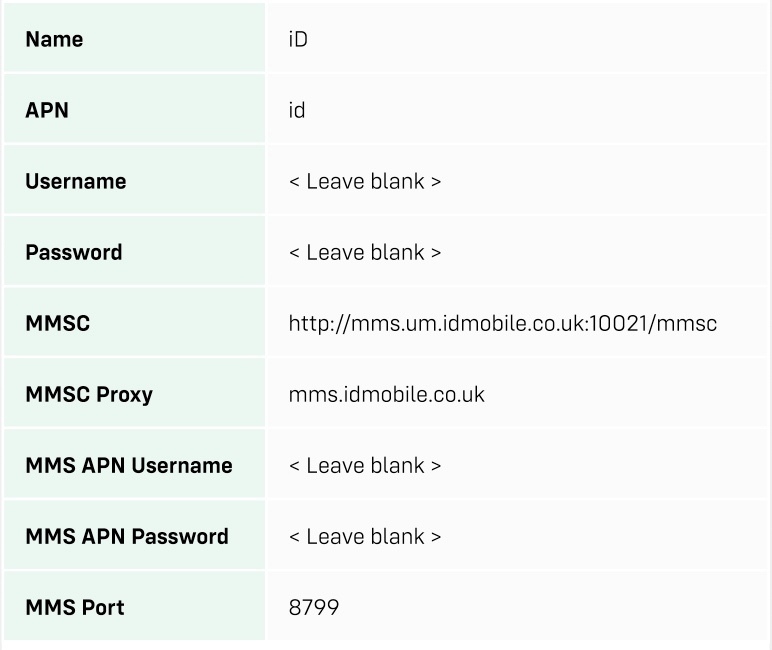
How to confirm network settings on an Android phone
Trying to access the internet on the go? Setting up your mobile network is a must. Here’s how to confirm your network settings to ensure everything runs smoothly:
- Open the Settings app
- Click on ‘Connections’ then ‘Mobile Networks’
- Tap ‘Access Point Names’ (APN) before selecting ‘iD Mobile’
- Confirm that your APN settings match up with the settings below, and then you’re done.
How to set up Bixby on an Android phone
Bixby is a digital assistant that exists to make using your phone easier. Talk to Bixby to send messages, set up appointments on your calendar, or simply check the weather. Read on to find out how to set up Bixby:
- While on your Home screen, press and hold the side button to open the Bixby set up screen
- From here, tap ‘Next’ and select the relevant language before clicking on ‘Confirm’
- Sign in using your Samsung account
- Read through the T&Cs and select ‘Next’.
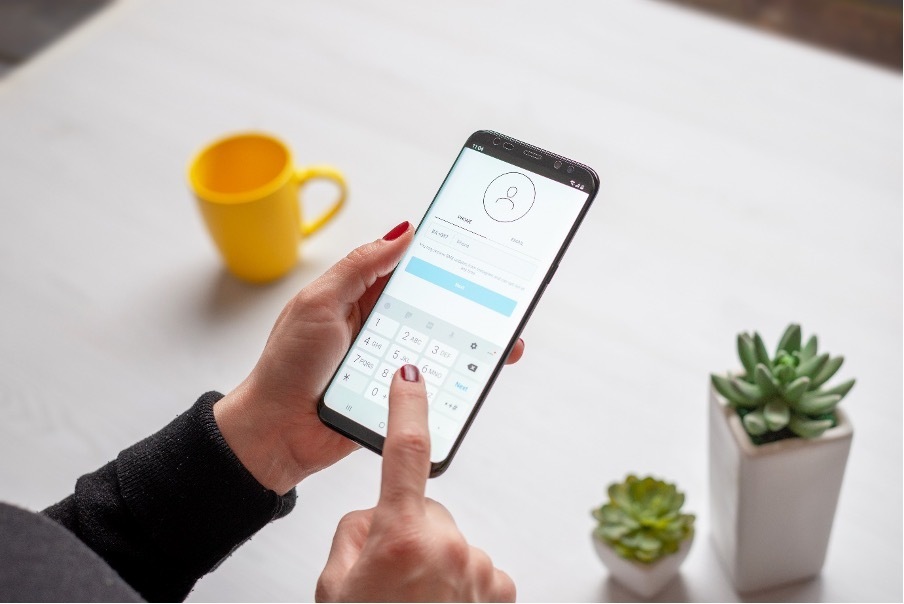
How to set up voicemail on an Android
Android phones can seemingly do everything. But they can – of course – be used as phones, too. Here’s how to set up voicemail on your new Android phone:
- Download and open the iD Mobile app
- Log in or Register
- Click on ‘Services’
- Toggle ‘Voicemail’ to on
- Now it’s all set up – just call ‘123’ to access your voicemails.
How to add your bank card to Google Pay
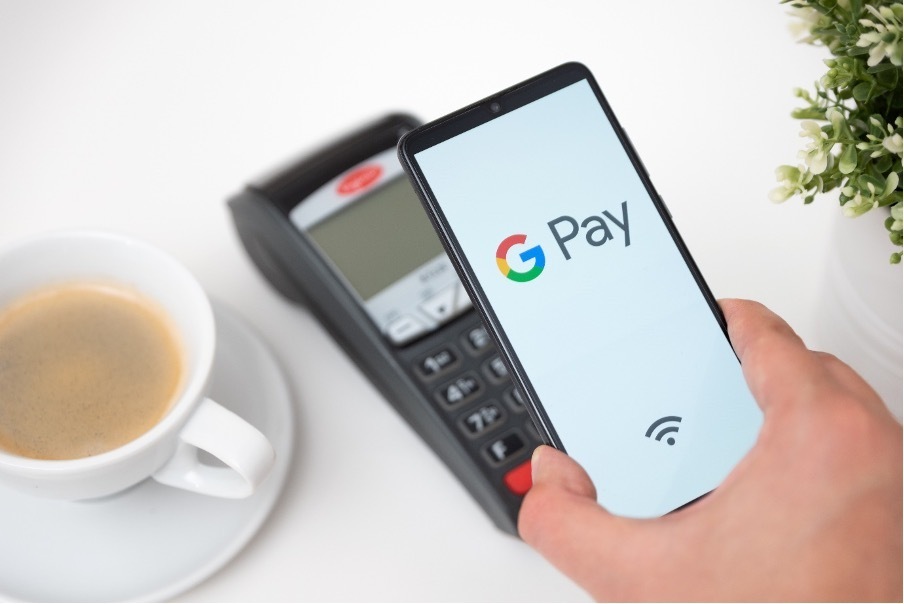
Make contactless payments from your Android phone using Google Pay. To add a new card, follow these few simple steps:
- Open the Google Pay app
- Tap on the card icon at the top of the screen
- Click on ‘Add a card’
- Tap ‘Debit or credit card’
- Use the camera to scan your card OR enter your info manually
- Verify your bank card by choosing an option from the list and entering the verification code.
Got any questions on setting up your Android phone? Ask away in the comments below.


