Contactless is the new way to pay – letting you use your phone to get that coffee without needing to grab your wallet or take your debit card out. Google and Apple Pay are essentially wallets in your phone, storing your card info so that you can pay for things with just a tap of your phone.
As more and more businesses are becoming card only, and almost everywhere takes card and contactless payments, it’s good to know how to get your phone set up. And what’s the difference between Google Pay and Apple Pay anyway? Well, we’re here to break it down and explain everything you need to know about these payment services.
Let’s start with a quick explainer:
Google Pay
The name is pretty self-explanatory – this is Google’s Pay app. It’s only available from the Google Play Store and is the go-to wallet app for most Android users. You can save loads of cards, including membership (that’s your nectar points sorted) and it’s easy to switch which card you want to use.
Key features:
- Your information is protected with loads of security
- No maximum transaction limit (but you’ll need to unlock your phone to spend over £45)
- Can be used anywhere contactless is accepted
- No PIN needed
- Can be used to check out in apps and websites
- If your phone is lost or stolen you can lock your phone or wipe your data completely
Download from the Google Play Store
How to get set up:
- Download Google Pay from the Play Store
- Open the app and follow the setup instructions
- When you’re asked to, add a card (or as many as you want)
- And you’re done!
Apple Pay
Much like Google Pay, Apple Pay does what it says on the tin. It’s Apple’s Pay app. If you have an iPhone, it will already be ready to go – no download needed.
Key features:
- Your information is protected with loads of security
- Wallet app keeps all your passes, credit and debit cards in one place
- Can be used anywhere contactless is accepted
- No PIN needed, but you will need to use TouchID or FaceID
- Can be used to check out in apps and websites, as well as for Apple services
- If your phone is lost or stolen you can block Apple Pay from being used
How to get set up:
- It’s already on your iPhone, so go to the Wallet app
- Press the Add button
- Select debit or credit card – then Continue
- Follow the steps on the screen
- Verify with your bank or card issuer
- And you’re good to go
Is it safe to use contactless?
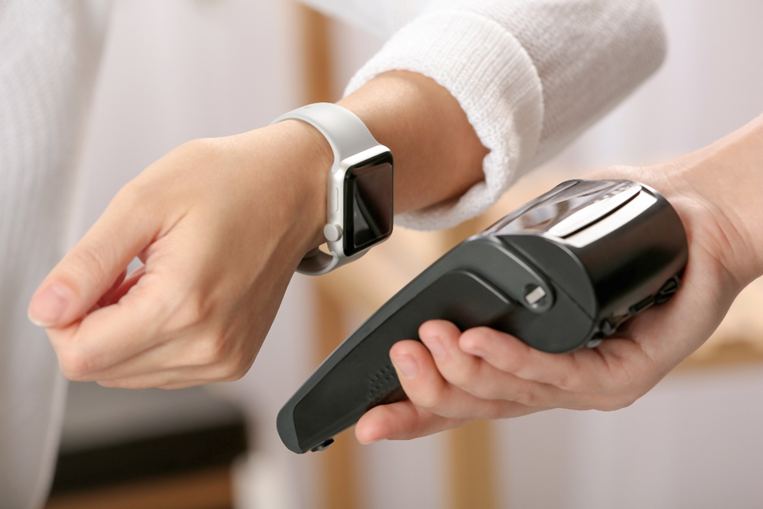
Yes! Apple Pay requires you use FaceID, TouchID or your passcode to allow a purchase, so if someone picks up your phone, they can’t use your card. And because your card details aren’t stored on your phone or given to any shops or businesses you use, no one can steal your bank or card details. Google Pay’s the same – much safer than using cards or cash. Google holds onto your info so that when you pay for something, the shop doesn’t receive your details. And if your phone is stolen, you can wipe your data completely to stop anyone accessing your information.
Google Pay vs Apple Pay
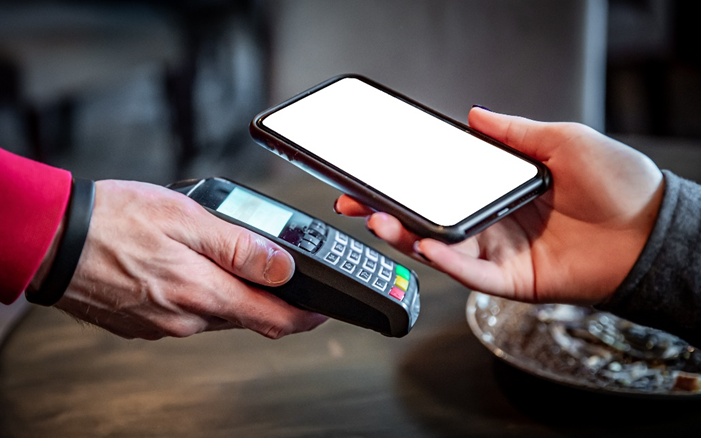
Time for the clash of the titans (if the titans were different payment apps and they were almost identical).
Apple Pay is only available on iPhones and other Apple devices like Apple Watch, while Google Pay is available on any device, but you’ll need to download it on your iPhone. As a rule of thumb, if you have an Android device, Google Pay’s your best bet, and if you’re an iPhone user, Apple Pay.
But let’s compare them anyway. We’d say Apple Pay is easier to use (mainly because you don’t need to download anything), but the key difference is how they handle data. Apple doesn’t store your card details or track your purchases, while Google does keep hold of your details and transaction history – functioning a lot more like a real-world wallet would.
Pros and Cons of Apple and Google Pay
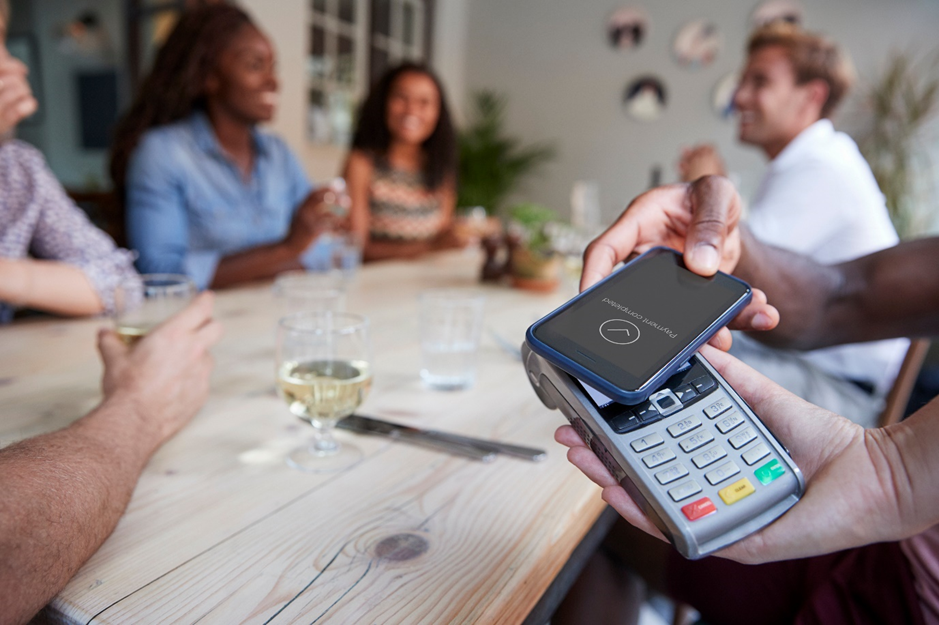
We love a list, so let’s break it down with some pros and cons of using Google and Apple Pay:
Pros:
- Easy to set up
- High security – way safer than using physical cards and cash
- They’re both free
- You can add multiple cards
- Compatible with any Oyster touchpoint for travelling around London
- Fingerprint and face recognition makes payment more secure than a PIN number
- Your payment details aren’t given to the seller when you pay for something
Cons:
- Only compatible with NFC phones (most smartphones nowadays will have NFC built-in)
- Not accepted EVERYWHERE. Most places, including markets, will have a contactless payment option, but it’s not a given.
- Sometimes card readers can reject contactless, or you have to tap in a few times to get it working.
- If your phone dies, and you didn’t bring a wallet, you might be a bit stuck. Worth keeping a card on you just in case and, of course, keep an eye on your battery!
Top tip: Find out where your NFC point is in your phone. It’s often in the middle, so make sure to tap the centre of your phone (not the top) against the contactless reader for the best connection.
Do you use Google Pay or Apple Pay? Or do you have any more questions about getting started with using contactless? Let us know in the comments!

