


Want to take more wow-worthy photos? Whether you’re jetting off on holiday soon or you just love capturing nature at home, blurring the background of your pics adds a professional touch.
It’s a simple effect that helps viewers focus on the subject. And you don’t need a fancy DSLR to achieve it either. That’s because many of today’s smartphones now have cutting-edge cameras which can easily create that “bokeh” look. There are even some clever editing apps which use the power of Ai to do it!
Follow our steps below, and you’ll be well on your way to capturing stunning photos that none of your social followers will scroll past.
Turn on ‘portrait’ mode.
Most phones these days have some kind of ‘portrait’ camera setting. It simulates the shallow depth of field you can achieve on pro cameras, which blurs the background and brings out your subject more. Whether it’s your cute pet or a pretty flower in bloom.
Here’s how to find and make the most of your phone’s portrait mode:
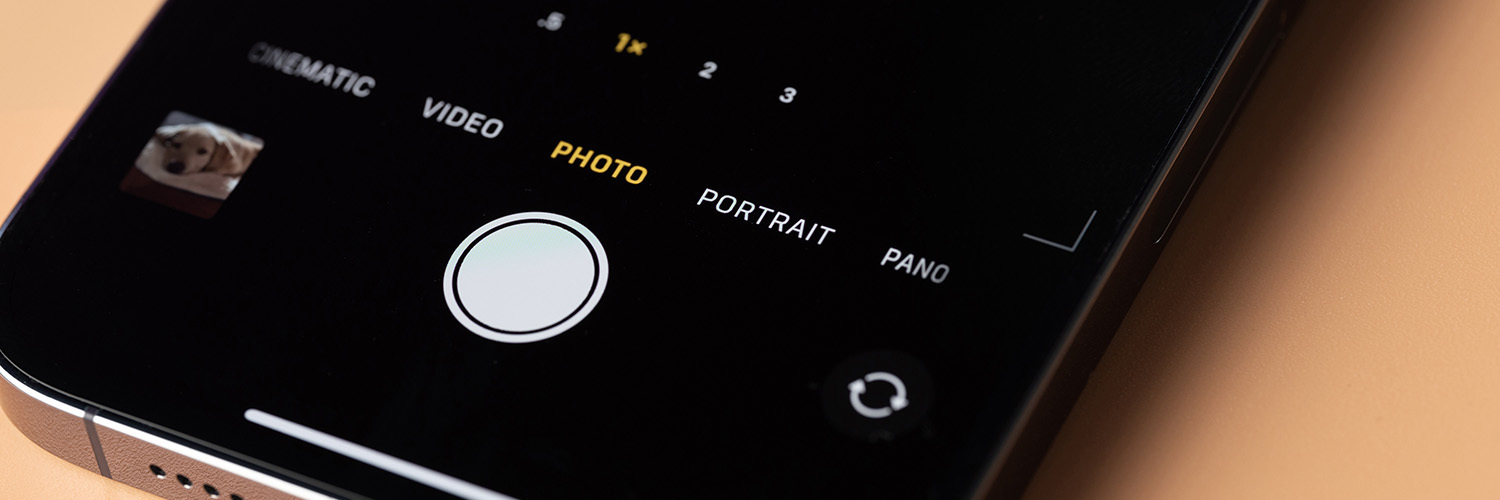
- iPhone: Open the camera app, swipe across to ‘Portrait’, and frame your subject. Your iPhone will tell you to move further away if you’re too close, and it even has different lighting filters you can play around with. Once you’re happy, just tap the big round button on your screen to take your photo.
- Android: It’s a similar deal if you’ve got a Samsung, Google, or any other Android phone. Head to the camera app and switch to ‘Portrait’ mode to get that cool blurred background look when you shoot. Some Android phones also offer pointers and let you adjust the intensity of the blur.
Tip: No matter what kind of smartphone you’re snapping photos on, always make sure your subject is well lit and not too close to the background.
Use editing tools to adjust the blur after.

Background too blurry? No problem. After you’ve taken a photo using portrait mode, you can easily tweak the strength of the blur effect with your iPhone or Android’s built-in editing tools:
- iPhone: Open your portrait mode pic in the Photos app and tap the edit icon at the bottom to adjust the depth. Slide left to sharpen the background, or right to increase the blur.
- Android: Go to Google Photos (or the Gallery app on Samsung devices) and select the snap you want to adjust. Tap ‘Edit’ and look for an option called ‘Portrait Blur’, ‘Depth’, or ‘Background Effects’. Then use the slider control to change the background focus.
Download a background blur app.

If you want to blur the background of an existing photo that wasn’t taken using portrait mode, there are some great editing apps that can give it the blurred background treatment:
- Focos (iOS/Android): This app allows you to manually apply or enhance blur. It features an AI engine that calculates the depth of field for a more natural look.
- Picsart (iOS/Android): A popular do-it-all photo editor that includes a handy blur tool. Just select the background of your photo to defocus it and get that bokeh effect.
- AfterFocus (iOS): Download this app to create a DSLR-style blurred background photo by simply choosing a focus area.
Tips for the best bokeh shots.

We’ve taught you how to use your phone’s portrait mode and edit pics after with tools and apps. But if you really want your snaps to shine, try some of these photography tips:
- Step back and zoom in: Take a step back and zoom in a bit to boost the bokeh effect. It helps to compress the background, so the blur is more pronounced.
- Use natural light: Make the most of natural light, especially during “golden hour” (the time just after sunrise and before sunset). It’ll make your subject really pop.
- A simple background’s (usually) better: Shoot against a clean, uncluttered background free of busy or distracting objects if you want your subject to stand out more. But experiment, as night pics with lights behind can look incredible!
- Adjust exposure: If you can manually adjust your phone camera’s exposure, try underexposing a little to enhance the background (if you want the bokeh more visible).
- Get creative with angles: Take pics from a low angle to make your subject look extra prominent, or from a high angle to capture a unique perspective.
- Use the rule of thirds: This is classic composition technique. Imagine your frame’s divided by three-by-three grid lines, then place your subject at one of the intersection points and take your photo. It’s another way of making your work look more professional.
- Don’t over-edit: Editing tools enhance your photos nicely. But don’t get carried away, as over-editing can cause them to look fake and unnatural. It’s always best to do subtle tweaks.
There you have it. You can create eye-catching blurred background photos without needing a big and expensive camera. Just use your smartphone’s portrait mode, editing tools, and a few free apps whenever inspiration strikes. Don’t forget about those extra tips too…
Share your results!
If our guide’s got you practicing bokeh-style photos, we’d love to see your work in the comments down below.
